How to Crochet Amigurumi for Beginners
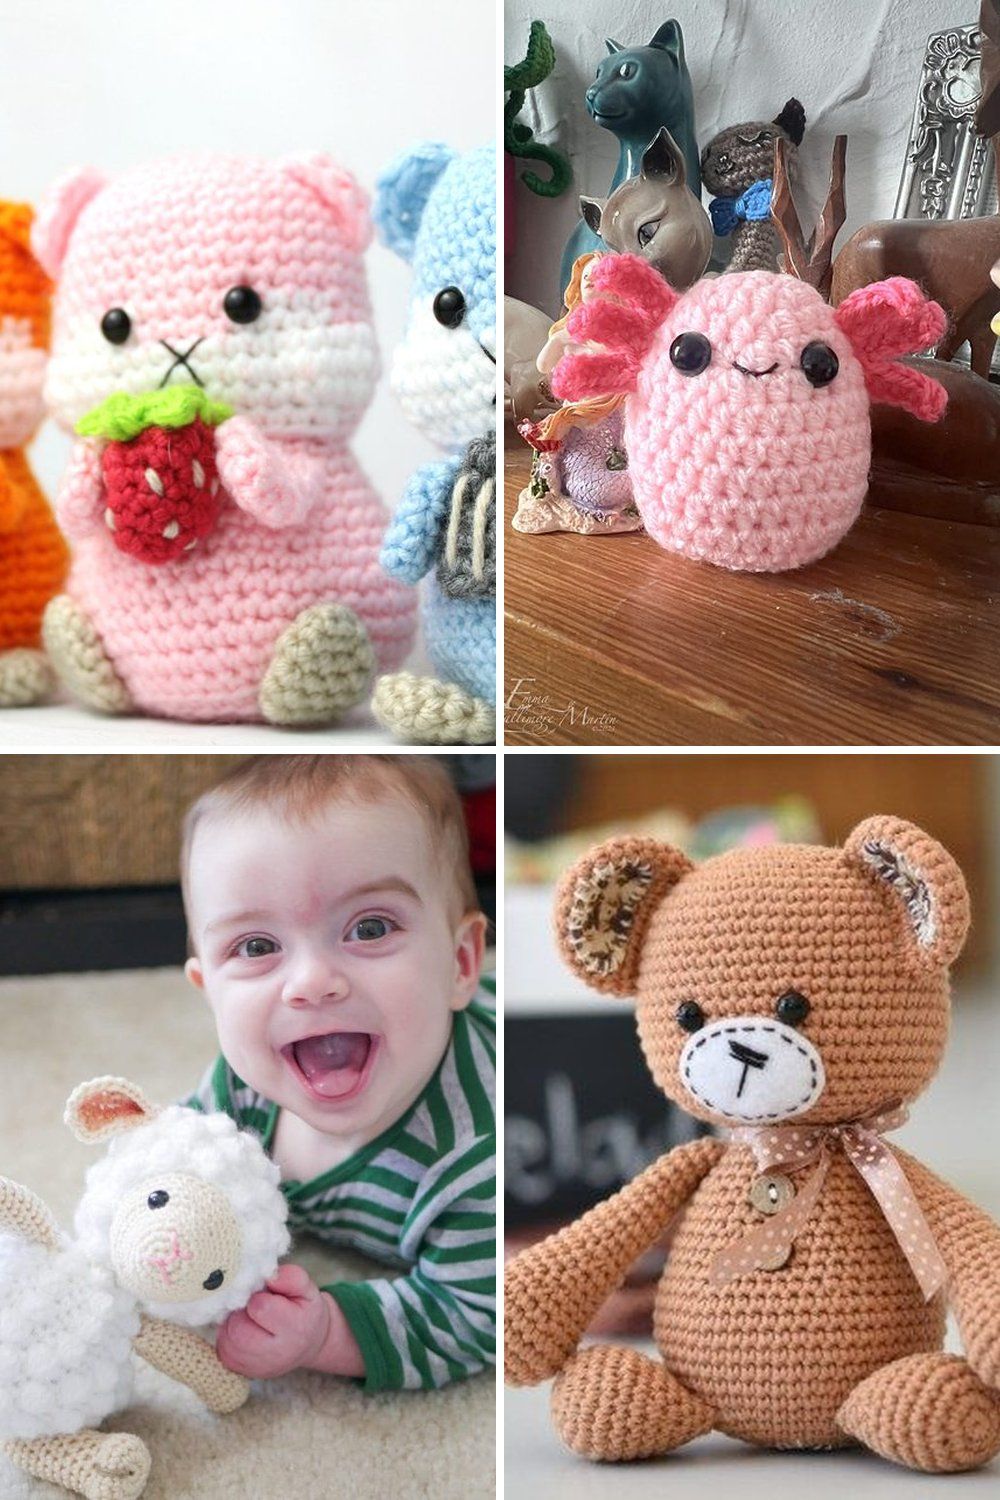
Amigurumi is the Japanese word for small crocheted or knitted stuffed toys. If you have seen tiny crochet animals, keychains or fruit on Pinterest and thought “I could never make that,” good news: almost every amigurumi uses the same few skills. Once you learn them, you can make bears, bunnies, food, bag charms and more.
This guide walks you through how to crochet amigurumi from the very first stitch. You only need to know how to chain and make a single crochet. We will cover the magic ring, working in a spiral, increases, decreases, stuffing, safety eyes and sewing pieces together. At the end, you will make a simple ball, which is the base of most amigurumi.
What You’ll Need
- Worsted (#4) or DK (#3) acrylic or cotton yarn in a light color
- A crochet hook 0.5 to 1 mm smaller than the yarn label suggests (a 3.5 mm hook is a good start for worsted)
- Polyester fiberfill stuffing
- Locking stitch markers
- Safety eyes, 6 to 9 mm (skip these for toys for kids under 3)
- Blunt yarn needle with a large eye
- Small sharp scissors
Tip: pick a smooth, light-colored yarn for your first project. Dark or fuzzy yarn makes it hard to see your stitches.
How Amigurumi Is Different from Regular Crochet
Most amigurumi is worked in the round, in a continuous spiral. That means you do not join each round with a slip stitch, and you do not chain at the start of a new round. You simply keep going around and around, like a snail shell.
You also use a smaller hook than normal. This makes tight stitches, so the stuffing does not peek through the holes. Your fabric should feel firm, almost stiff. That is what you want.
Patterns are usually written like this:
- Rnd 1: 6 sc in magic ring (6)
- Rnd 2: inc in each st around (12)
- Rnd 3: [sc 1, inc] 6 times (18)
The number in brackets at the end is your stitch count for that round. Count every round. It saves a lot of frustration later.
| Abbreviation | Meaning |
|---|---|
| MR | magic ring |
| sc | single crochet |
| inc | increase (2 sc in the same stitch) |
| dec | decrease (sc 2 stitches together) |
| invdec | invisible decrease |
| BLO / FLO | back loop only / front loop only |
| sl st | slip stitch |
| FO | fasten off |
Step-by-Step: Your First Amigurumi Ball
A ball teaches you every basic skill. Heads, bodies and many food shapes are just balls that are stretched or squished.
Step 1: Make a magic ring. Wrap the yarn around two fingers to make a loop, with the tail end hanging down. Insert your hook under the loop, grab the working yarn and pull it up. Chain 1 to lock it. This chain does not count as a stitch.
Step 2: Work 6 single crochet into the ring. Insert your hook into the center of the ring (under both strands), and make 6 sc. Then pull the tail tightly. The hole closes up. This is round 1.
Step 3: Place a stitch marker. Put your locking marker in the last stitch of the round. Each time you come back to the marker, you know a round is done. Move it up every round.
Step 4: Increase. Round 2: work 2 sc in each stitch around. You will have 12 stitches.
Step 5: Keep growing. Round 3: [sc 1, inc] 6 times (18). Round 4: [sc 2, inc] 6 times (24). See the pattern? Each round, you add one more plain sc between increases. This makes a flat circle that cups slowly as you go.
Step 6: Work even rounds. Now make 4 to 5 rounds of 1 sc in each stitch (24). No increases. The circle turns into a little cup.
Step 7: Decrease. Next round: [sc 2, dec] 6 times (18). Then [sc 1, dec] 6 times (12). To make an invisible decrease, insert your hook into the front loop only of the next stitch, then the front loop only of the stitch after it, yarn over and pull through both loops, then finish like a normal sc. It looks much neater than a regular decrease.
Step 8: Add safety eyes and stuffing. Before the hole gets too small, push safety eyes between two rounds and snap the washers on the inside. Then stuff firmly. Add stuffing a little at a time, and shape it with your fingers.
Step 9: Close the ball. Work [dec] 6 times (6). Fasten off, leaving a long tail. Thread the tail on your needle, weave it through the front loops of the last 6 stitches, and pull tight to close. Push the needle through the ball and out the other side, then trim the tail so it hides inside.
How to Sew Amigurumi Pieces Together
Most toys have a few parts: a head, a body, ears, arms. Here is how to attach them neatly.
Step 1: Leave a long tail (about 12 inches) when you fasten off each small part.
Step 2: Pin the part in place first. Look at it from all sides before you sew. Moving a pin is easy. Unpicking sewing is not.
Step 3: Use a whip stitch. Go through a stitch on the small part, then a stitch on the main piece right next to it. Work all the way around, keeping your stitches small.
Step 4: For open pieces like a head on a body, add a little extra stuffing just before you close the gap so the neck does not wobble.
Step 5: Knot the yarn, push the needle into the body and out somewhere else, then trim. The end disappears inside.
A Good First Pattern
Once you have made a ball, try a full toy. The Chubby Bunny from A Menagerie of Stitches is a free pattern with a video and step-by-step photos, and it uses a 3.5 mm hook. For an even simpler shape, the free Crochet Carrots pattern by Kristi Tullus is rated beginner and needs very little sewing.
Common Mistakes (and How to Fix Them)
- Losing count of stitches. Use a stitch marker every round and count when you reach it. If you are off, pull back to the marker and redo that round.
- Stuffing shows through the stitches. Your hook is too big. Go down half a size or a full size, and stuff a bit less tightly.
- The piece looks twisted or slanted. This is normal when working in a spiral. Your increases line up in a slight swirl. It usually disappears once the toy is stuffed.
- A hole is left in the magic ring. Pull the tail tight, then weave it in around the center once more before trimming.
- Lumpy stuffing. Pull the fiberfill apart into small fluffy pieces before you push it in. Big clumps make lumps.
- Ears or arms sewn on crooked. Always pin first, then step back and look before sewing.
Tips
- Try the “yarn under” method for single crochet (grab the yarn from under the hook instead of over it). Many makers like it because it makes neat, tight X-shaped stitches. Whichever you pick, use it for the whole toy.
- Work through both loops unless the pattern says BLO or FLO.
- Keep your gauge tight but relaxed. If your hands hurt, take breaks rather than gripping harder.
- Keep a little notebook. Write down which round you are on if you put your work down.
- For babies and toddlers, embroider eyes with yarn instead of using safety eyes.
- Watch a video for the magic ring. It is much easier to learn by seeing it once.
FAQ
Is amigurumi hard for beginners?
No. If you can chain and single crochet, you can make amigurumi. The magic ring feels awkward at first, but most people get it after a few tries. Start with a ball or a simple food shape before moving on to animals with lots of parts.
What hook size should I use for amigurumi?
Use a hook smaller than the yarn label recommends. For worsted (#4) yarn, many patterns use 3.5 mm to 4 mm. For DK (#3), try 2.5 mm to 3 mm. The goal is tight fabric with no gaps where stuffing can show.
Can I use a chain ring instead of a magic ring?
Yes. Chain 2 and work your first round into the second chain from the hook. It leaves a tiny hole in the middle, but it is easier for some beginners. Many makers switch to the magic ring once they feel more confident.
Make one little ball today, and you already know the skills behind almost every amigurumi out there.